Table of Contents
Spider mites spread fast. By the time you spot webbing, you’ve already got a colony, and every plant in reach is at risk. They move between pots by crawling, hitching rides on your hands, or floating on air currents. One infested plant can quietly seed an entire shelf in a matter of days. The good news: they’re soft-bodied and easy to kill once you’ve confirmed what you’re dealing with. The plan here identifies them early and stops the spread before it takes hold.
1. Watch for Yellow Stippled Leaves
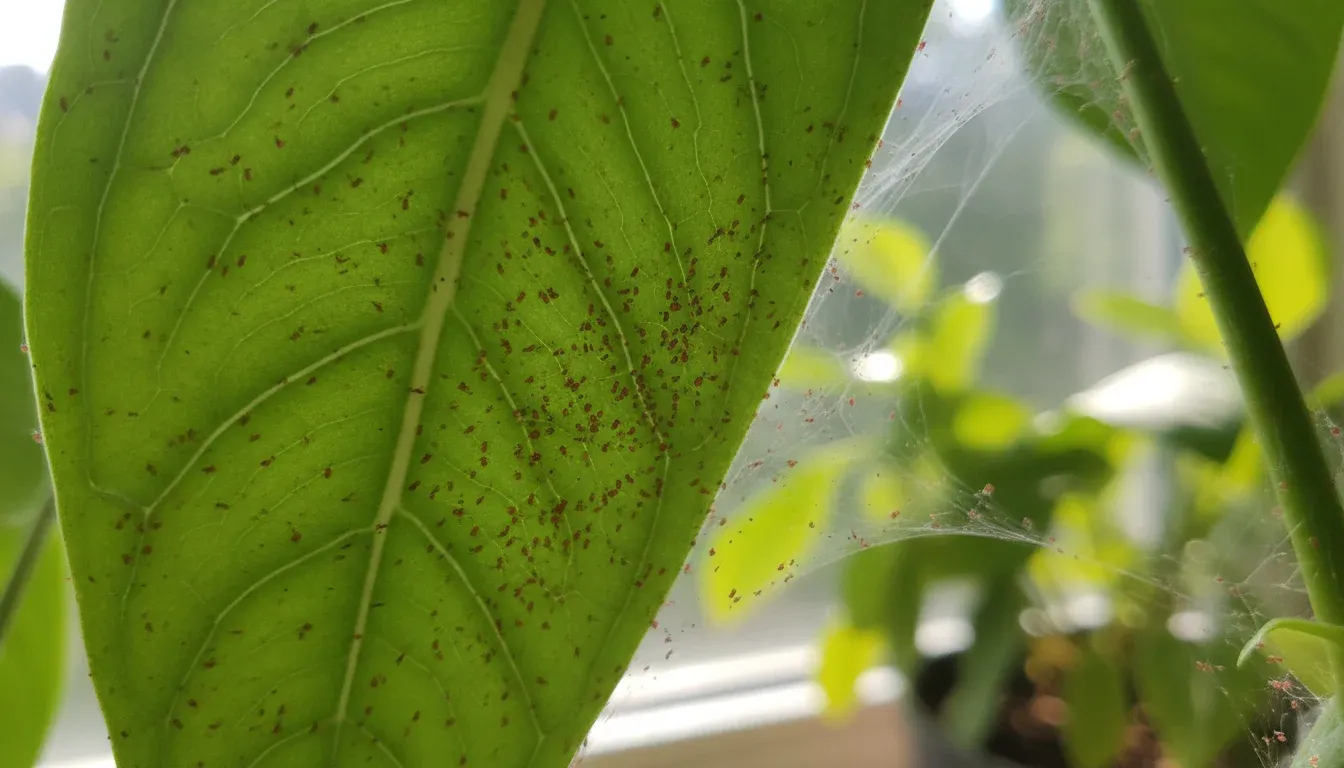
Before you see webbing, you’ll see damage. Spider mites pierce leaf cells and suck out the contents, leaving tiny pale or yellow dots called stippling. On heavily infested plants, leaves take on a dull, bronzed, or silvery appearance. Flowering plants often show damage first on newer growth.
Flip suspect leaves over and look for fine silk webbing on the undersides. If you see webbing, you’re dealing with an established colony, not just a few stragglers. Catch the stippling stage and you’ve got options. Wait for webbing and you’re already behind.
2. Inspect Plants with a Magnifying Glass
Spider mites are nearly invisible to the naked eye at about 0.5mm long. A 10x to 15x magnifying glass (or a jeweler’s loupe if you have one) makes them obvious. Look on leaf undersides where they congregate. You’ll see tiny oval creatures with eight legs (adults) or six legs (hatchlings), usually pale, red, or spotted depending on species. A piece of white paper held under a leaf while you tap it can also reveal them – tiny specks that move are mites.
Do this every week, especially in hot dry weather when mite populations can double in as little as five days. Always check new plants before bringing them home from the nursery. That’s how most indoor infestations start – a single infested plant from the garden center.
3. Quarantine the Plant
The moment you confirm mites, move the plant. Ideally to a different room, not just a different shelf. Mites hitchhike on clothing and tools, so neighboring plants are already at risk. Check every plant nearby for stippling or webbing while you’re at it.
Wipe down the spot where the infected plant was sitting with soapy water to kill any mites that dropped off. Don’t bring the plant back to the group until you’ve gone two full weeks without seeing new damage or live mites. Two weeks, not “when it looks better.”
4. Blast Them Off With Water
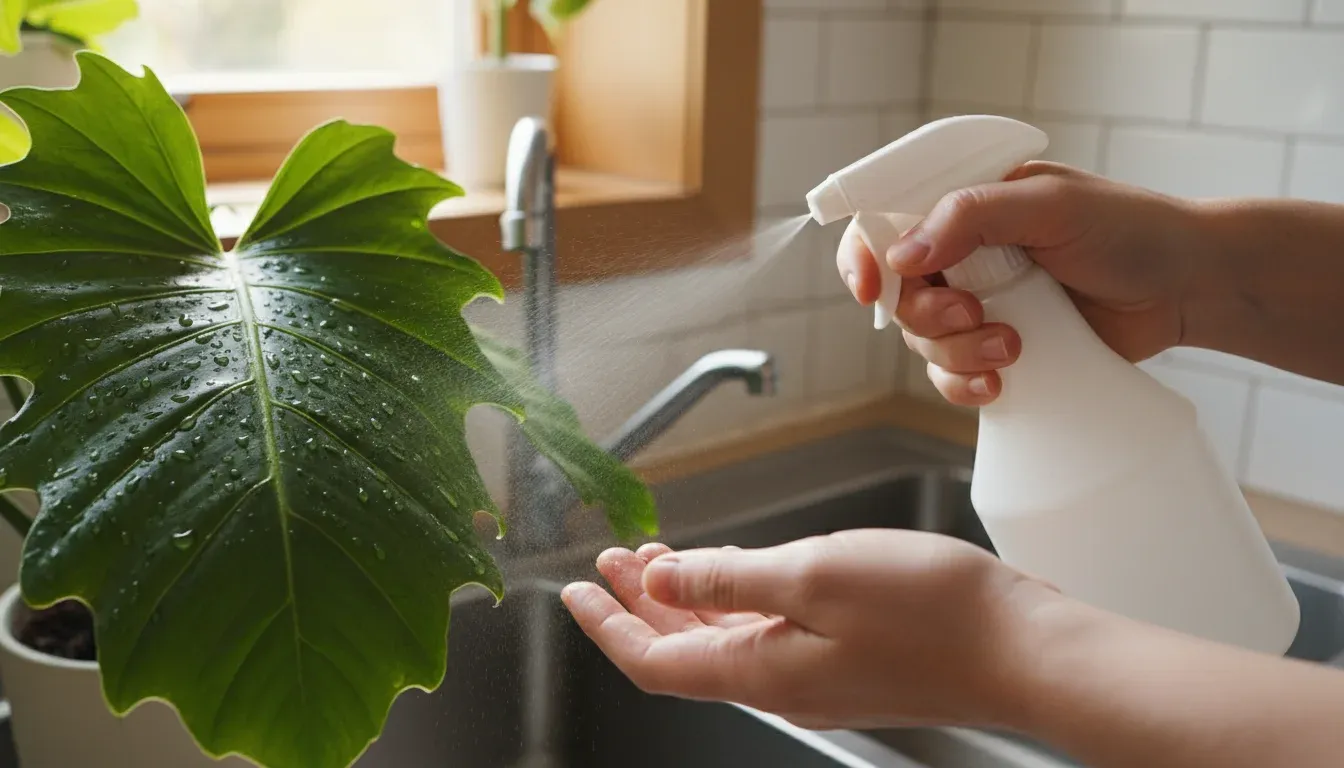
This is the workhorse method. Take the plant to a shower or sink and spray it hard, hitting every surface and focusing on the undersides of leaves where mites cluster. The water physically dislodges adults, nymphs, and loosens egg clusters.
Repeat every 3-4 days for two weeks. Spider mite eggs hatch continuously, so you’re not trying to kill everything in one pass. You’re disrupting their reproduction cycle. For large plants, take them outside and use a garden hose with a spray nozzle.
Want more stopping power than plain water? Mix 12 fl.oz (355 ml) of water with 4 fl.oz (120 ml) of 92% isopropyl rubbing alcohol and 2 tablespoons of Dawn dish soap in a 16 fl.oz (475 ml) spray bottle. This kills mites on contact without harming most plants. Test one leaf first and wait 24 hours before going full coverage.
5. Remove Heavily Infested Leaves
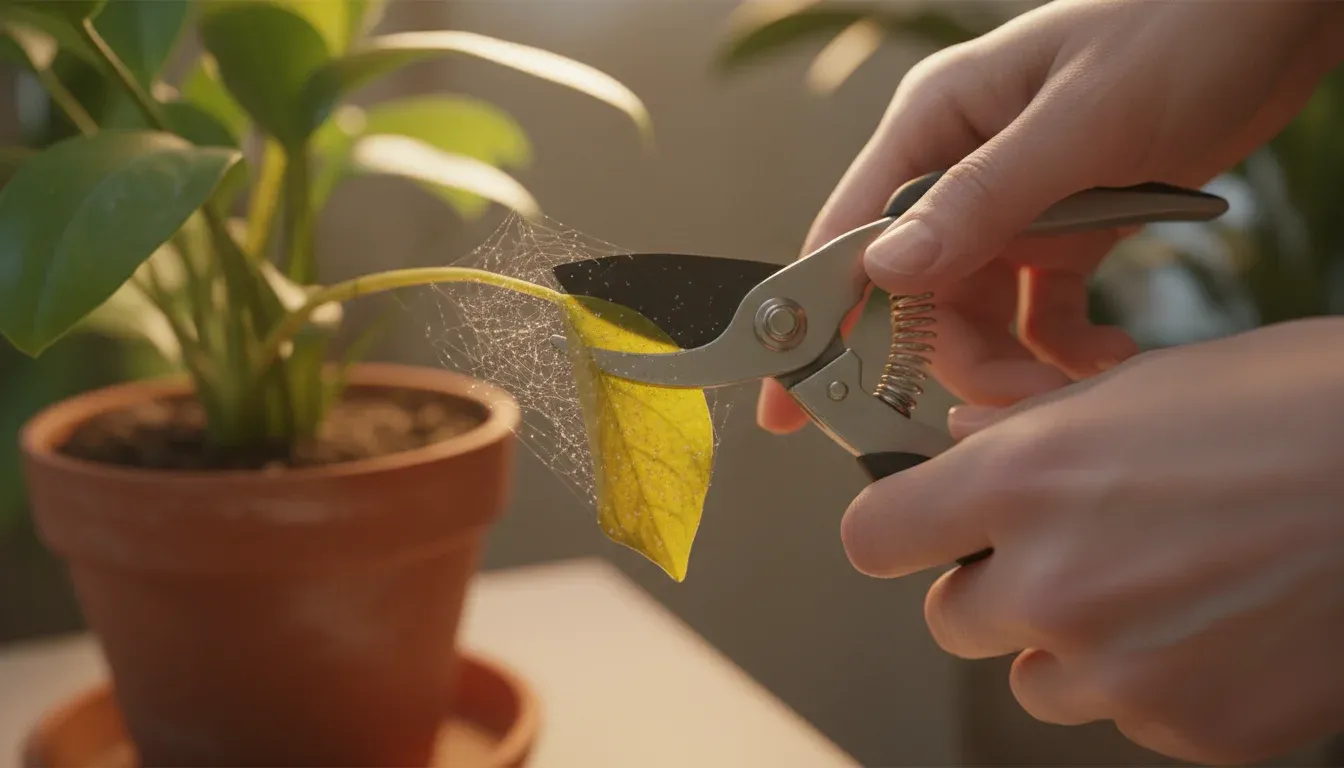
If a leaf is more web than green, it’s not coming back. Cut it off, bag it, and put it in the trash. Don’t compost infested material – you’ll spread the eggs to your outdoor garden. The leaf is already a net negative for the plant anyway; mite-damaged tissue can’t photosynthesize effectively.
Use clean scissors and wipe the blades with rubbing alcohol between cuts. The last thing you want is to drag mites from one part of the plant to another on your pruning tool. Removing the worst-affected leaves cuts the population fast and gives the plant a fighting chance. It also makes the follow-up spray treatments more effective since you’re not just coating webbing.
6. Increase Humidity
Spider mites thrive in hot, dry air. Your forced-air heating system running all winter is basically a mite resort. Boost humidity around your plants with a humidifier, pebble trays filled with water, or by grouping plants together to create a damp microclimate.
Aim for 40-50% relative humidity. That won’t kill an active infestation on its own, but it slows reproduction and makes your plants less hospitable for future outbreaks. Most tropical houseplants want that humidity level anyway, so you’re doing them a favor either way.
7. Toss the Plant if Treatment Fails
Know when to quit. If you’ve been treating for several weeks and the infestation keeps spreading, the plant isn’t worth saving. Mites can develop resistance to treatments, and a lost cause is just a liability for every other plant you own.
Bag the entire plant, soil included, and put it in the trash. Don’t try to salvage cuttings. The mites and their eggs will hitch a ride and you’ll be back where you started. Spider mites don’t typically lay eggs in soil (they prefer the undersides of leaves), but you’re not taking chances on a plant that’s already lost.
Clean the area with soapy water and start fresh. You can replace the plant. You can’t replace the time you’ll spend battling a reinfestation across your whole collection.
Catch mites early and you can stop them with water alone. Wait until you’ve got webbing across three plants and you’re in for weeks of treatment. Weekly inspections aren’t optional if you want to stay ahead of this. Check the undersides of leaves every time you water.