Table of Contents
Bats in your attic aren’t just a nuisance – they’re a legally protected wildlife issue with a narrow window for legal removal. In most US states, evicting bats during maternity season (roughly May through mid-August) is illegal. Exclude the adults while pups can’t yet fly, and you’ve trapped them inside to die. That’s both illegal and far worse than live bats in terms of smell. The legal window is late August through early spring. Get the timing right first, then work through the steps below.
What Causes This Problem
Three things draw bats to your home: warmth, darkness, and insects.
Attics and wall voids are near-perfect roost sites – protected from predators, consistently warm, undisturbed. Existing guano odor from a prior colony is a strong attractant; bats are highly faithful to established roost sites, sometimes returning years later. Outdoor lights draw insects, and bats follow insects. A well-lit yard with standing water nearby is effectively a bat buffet.
Colonies grow. A few scouts this season become dozens the next. Act early.
1. Identify Entry Points at Dusk
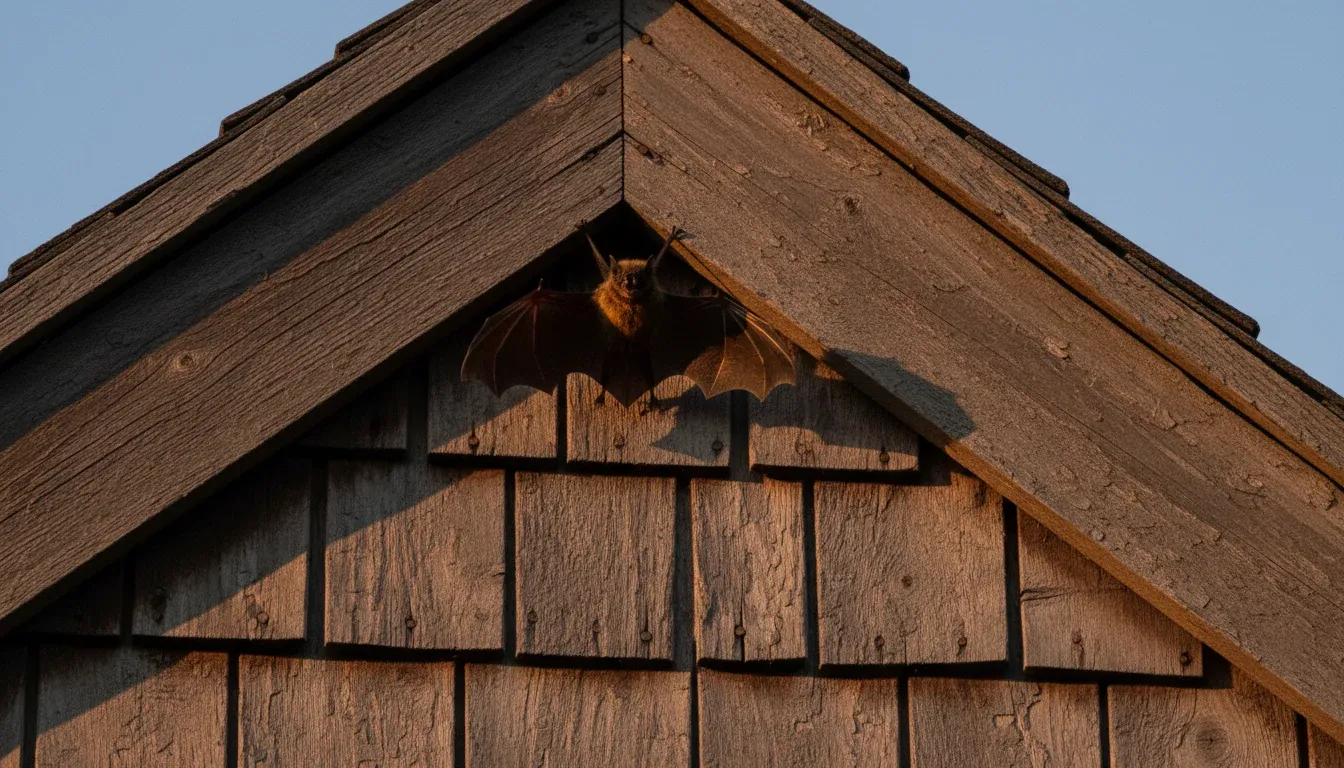
Go outside 20-30 minutes before sunset and watch your roofline. Bats emerge to feed at dusk – you’ll see them streaming out from under eaves, behind fascia boards, through attic vents, or through gaps in siding.
Mark every exit with chalk or tape as you see it. Bats can squeeze through openings as small as 3/8 inch (1 cm), so look carefully – what looks like a hairline crack is adequate for them. Take photos. Missing a single entry point means the colony comes back after exclusion and you redo the whole job.
2. Install One-Way Exclusion Doors
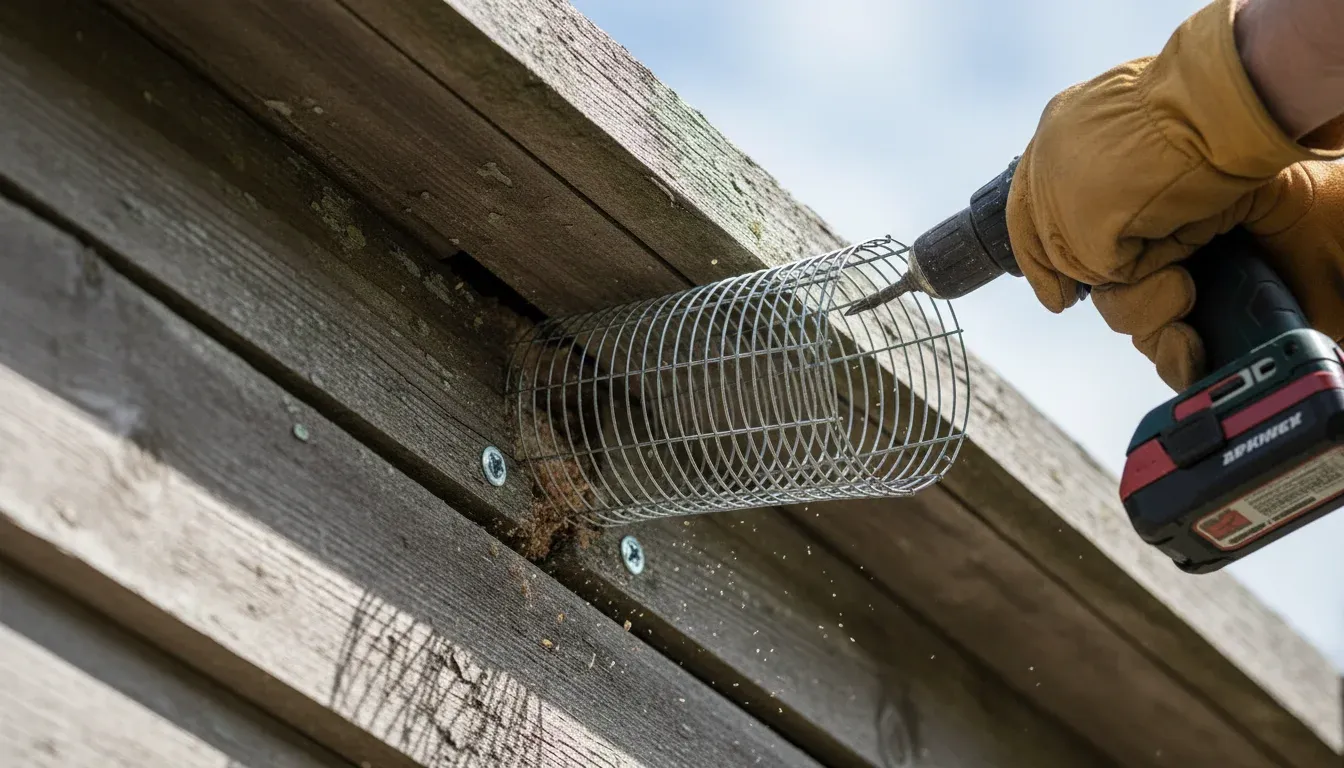
The core removal method. One-way exclusion devices attach over the main entry point and let bats exit freely but block re-entry. Over 3-7 days, the colony evacuates and can’t return.
Install over the primary gap you identified at dusk. Leave all other entry points temporarily open – if you seal secondary gaps while the colony is still inside, bats can’t exit and you’ve trapped them. Only the main exit gets the one-way device first. Watch each evening to confirm bats are still exiting. Once you’ve had 2-3 nights with no activity, the colony is out.
Do not attempt this May through mid-August. Full stop.
3. Seal Entry Points
After the colony is out, seal everything. Every gap, crack, and penetration in the roofline, soffits, fascia, and eaves. Use caulk for small cracks, expanding foam around pipes and utility lines, and hardware cloth or metal flashing for larger gaps and vent openings. Steel wool packed into gaps and covered with caulk is a solid combination for irregular openings.
Check where utility lines enter the structure, around chimney flashing, and anywhere two building materials meet. One missed 3/8 inch gap and they’re back next season. Take your time.
4. Clean and Deodorize the Area
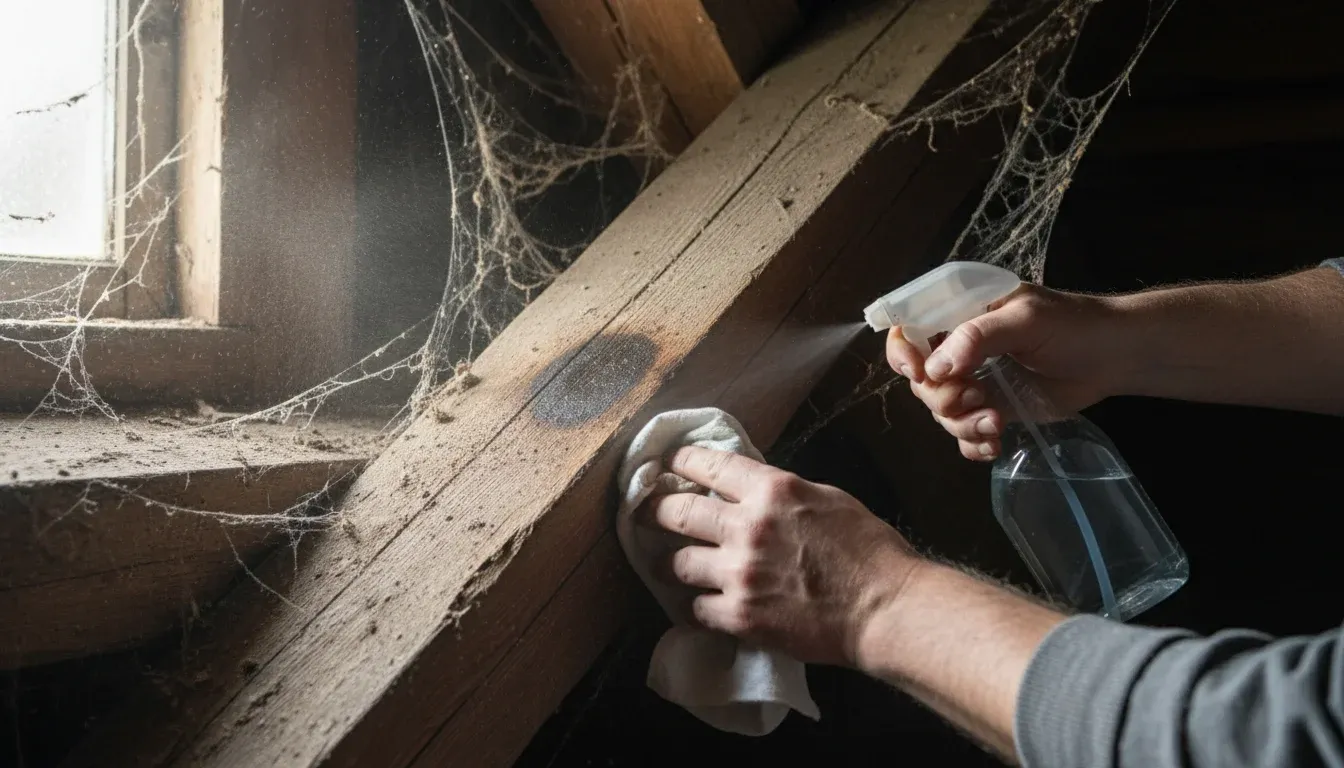
Non-optional. Bat guano harbors histoplasma capsulatum, the fungal spores that cause histoplasmosis – a respiratory disease. Don’t disturb dry droppings. Mist the accumulation lightly with water first to prevent dust becoming airborne, then sweep or vacuum with a HEPA-filter vacuum.
Wear an N95 minimum (P100 respirator if the accumulation is heavy), nitrile gloves, and goggles. Bag everything and dispose of it properly.
After removing the guano, apply an enzyme-based cleaner to the area. Standard disinfectants don’t break down the proteins driving persistent odor. The scent markers left by a colony will attract new bats to the same spot – this cleanup step is prevention as much as remediation.
5. Use Bat Houses as Alternative
If you’d rather keep bats around for insect control than drive them off your property entirely, give them somewhere else to roost. Mount bat houses on poles or building sides, 12-20 ft (3.6-6 m) high, facing south or southeast to catch morning sun. Position near water if possible, away from bright lights.
It often takes a year or two for bats to discover a new house, so install them before or during the exclusion process, not after. A single bat eats thousands of mosquitoes nightly – the ecological tradeoff is real.
6. Install Deterrent Lights
Bats pick roost sites that are dark and undisturbed. Motion-activated LED lights in attics, eaves, and soffits disrupt that appeal. LEDs over incandescent – heat from bulbs can actually attract bats seeking warmth.
Not effective alone against an established colony. Use as a supplementary deterrent during the exclusion window to push bats toward the exit, and post-exclusion to discourage scouts.
7. Apply Ultrasonic Repellents
Ultrasonic devices emit high-frequency sound that bats find irritating. Place them in attics and wall voids where bats have been active. Most useful during the 2-3 week exclusion window – they push bats toward the exit rather than deeper into the structure.
Bats habituate to the sound over time, so these aren’t a long-term standalone solution. Use them during the active exclusion period, not as a permanent fixture.
8. Reduce Insect Attractants
Bats follow insects. Turn off or redirect bright exterior lights, or switch to yellow/amber bulbs that attract fewer insects. Eliminate standing water – gutters, bird baths, low spots in the yard – which breeds the mosquitoes bats hunt.
This doesn’t evict bats already roosting inside. But it reduces the reward of returning to your property, and combined with exclusion, lowers the chance of scouts moving in next season.
9. Annual Prevention Checks
After the colony is gone, keep it that way. Do a spring exterior inspection before maternity season starts – check for new gaps that opened over winter as wood shifted and caulk cracked. Trim tree branches away from the roofline; bats use them as launch points to access eaves. Keep chimney caps intact and attic vents screened.
An hour once a year catches the small problems before they become a colony.
Prevention
Long-term prevention is sealed entry points plus annual inspection. Keep gutters clean and directed well away from the foundation. Fix roof damage promptly. If you had a colony, the residual guano odor is the biggest re-attraction risk even after cleanup – the enzyme treatment in step 4 addresses this, but a second application the following spring doesn’t hurt.
10. When to Call a Professional
Large colonies, infestations in wall voids you can’t access, or any situation where you can’t confidently map all entry points are good reasons to hire a wildlife removal service. Professionals typically cost $200-$600 depending on location and scope, and most guarantee their work.
Also call a pro if a bat has had any possibility of contact with a sleeping person or child. Rabies transmission can occur from a bite too small to notice, and the exposure protocol requires medical evaluation regardless of whether a bite is visible.