Table of Contents
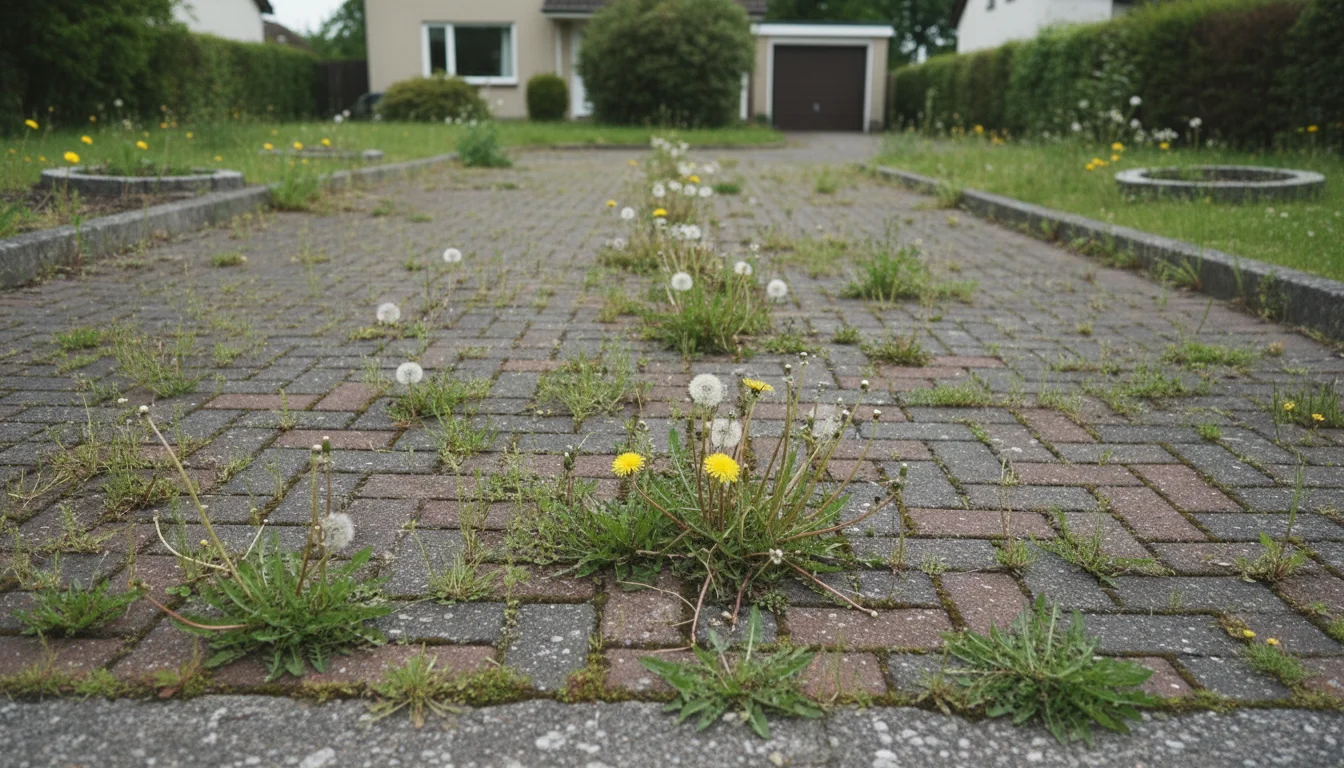
Weeds in driveways and patios get in through the joints – wind-blown seeds settle into the gap and germinate in whatever grit and organic matter has accumulated there. Paving looks solid, but those 6mm joints between pavers hold enough soil and organic material to support a full root system. The fix is two-stage: kill what’s there now, then seal the joints so the next generation can’t establish. Most people do the first part and skip the second, which is why the weeds are back every spring.
The good news: you don’t need chemicals. Boiling water, salt, and a pressure washer deal with the killing. Polymeric sand handles the prevention. The permanent fix costs about half an afternoon and a bag of sand.
Methods 1-5 are for killing existing weeds. Methods 6 and 7 are the clearance-and-seal sequence that actually keeps them gone.
1. Boiling water on weeds
The most overlooked answer. Fill a kettle, boil it, walk outside, pour.
Aim at the foliage first, then slow down over the crown where the stem meets the ground. The heat collapses plant cells – above 170°F (77°C), proteins in the plant tissue denature and cell walls rupture. For annuals and shallow-rooted weeds in cracks, one application is usually enough. For deep-rooted perennials like dock or bindweed, repeat every few days as new growth appears; each treatment depletes root reserves.
Takes 90 seconds per weed, costs nothing, no chemicals. Use a kettle with a narrow spout for better control – you want the water flowing down into the crack, not sheeting off the surface. A wide-mouthed pot works but you’ll waste a lot of water that runs off the surface before reaching the crown.
Works best on a dry, sunny day. Weeds treated on a hot sunny day dry out and die more completely than those treated on overcast or wet days, where the plant can partially recover before the tissue has a chance to desiccate.
Safe for concrete, asphalt, natural stone, and ceramic tile. If you’ve got polymer-modified materials or painted surfaces, test an inconspicuous patch first. One safety note: boiling water causes serious burns. Pour from a standing position, keep children and pets away during treatment, and wear closed shoes.
2. Hand-pull weeds (the right way)
For larger weeds in wider cracks where water alone isn’t enough. The technique matters.
Pull when the ground is moist – after rain or after watering. You need the entire root out or it regrows. For tap-rooted weeds like dandelions, use a weeding knife to get at least 4 in (10 cm) down. A seedling pulls easily; an established plant with a 10 in (25 cm) taproot wedged into paving is a different problem entirely.
Go after them young. A two-week-old dandelion pulls in seconds. Wait two months and you’re levering out chunks of paving to get the root. Don’t compost pulled weeds unless you’re certain they haven’t set seed. One dandelion head produces 200 seeds – those seeds go straight into your joint gaps if you compost them on-site.
The most effective sequence: kill the weed first with boiling water or vinegar, wait 24 hours, then pull. Dead roots come out far more cleanly than live ones, especially from tight cracks. If you try to pull a live tap-rooted weed from between pavers, you’ll almost always snap the root mid-shaft and leave the bottom half behind to regrow.
3. Spot-treat with vinegar solution
Horticultural vinegar (20% acetic acid) – not kitchen vinegar (5%). The difference matters. Kitchen vinegar concentration isn’t high enough to reliably kill established weeds; horticultural vinegar burns on contact.
Add a small amount of dish soap to help it cling to foliage rather than beading off. Spray directly on the weed on a sunny day – the heat accelerates the burn. It’s non-selective, so keep it off any surrounding plants or lawn you want to keep. Use a targeted spray bottle, not a broadcast sprayer.
It won’t kill deep-rooted perennials outright in a single application. For dandelions and dock, repeated treatment weakens them to the point where hand-pulling becomes easy. For annual weeds in cracks, one good dose on a hot day finishes them.
Horticultural vinegar is sold at garden centres and online – look for 20% or 30% concentration. Keep it away from pets and skin; the concentrated acid burns on contact. Store it properly and it’s no more dangerous than any other cleaning product.
4. Salt treatment for weeds in driveways and patios
Salt works by drawing moisture out of plant tissue and raising soil salinity high enough that seeds can’t germinate for several months afterward.
Pour rock salt or table salt directly into the crack around the weed base. Or mix a solution: 1 cup (240 g) of salt + 1 cup (240 ml) of white vinegar + a few drops of dish soap in 2 cups (480 ml) of warm water, pour directly on the target. Foliage dies within 1-2 days.
This is only for hard surfaces. Salt persists in soil and prevents everything from growing – including anything you’d want. Never use it near lawn edges, planted borders, or anywhere the runoff can reach your garden beds. On a sealed patio or concrete driveway with no surrounding planting, it’s a legitimate option. Residual suppression lasts 1-3 months, depending on rainfall – heavy rain leaches it out quickly.
One note for cold climates: high-concentration salt solution can accelerate concrete edge deterioration through freeze-thaw cycles, the same way road salt damages concrete over time. If your driveway has existing edge spalling, it’s probably not the method to reach for. Boiling water or vinegar are better options for concrete that’s already showing wear.
5. Use a weed burner on emerging growth
A propane flame weeder is the tool for driveways with a lot of crack-weeds. Pass the flame over each plant for 2-3 seconds until it wilts visibly. You’re not trying to combust it – just a brief flash of heat is enough to collapse the cell structure.
Works best on young, emerging growth. Annual weeds in cracks die after one or two treatments. Persistent perennials (bindweed, horsetail) will reshoot from their root systems, but weekly flaming in spring when new growth is most tender depletes their reserves over a full season.
Keep the burner moving. You’re not scorching the paving – a brief 2-3 second pass is enough to wilt the plant. You don’t need to see flames or charring; wilting is the sign it’s working. Don’t use near dry vegetation, wooden decking joints, or anywhere with a combustion risk.
The tool pays for itself quickly if you have a large driveway. A propane flame weeder runs around $30-50 (USD) and refill canisters are cheap. Compared to buying repeated rounds of contact herbicide, it’s cost-effective within the first season.
6. Pressure wash paving
For clearing a whole driveway or patio at once rather than treating individual weeds. A pressure washer physically blasts weeds and shallow roots out of paving cracks. There’s no single safe setting: the right pressure depends entirely on the surface. Find the lowest pressure that lifts the weeds on a hidden test area first, use the widest fan tip you have (never a 0-degree jet), and keep the nozzle well back – up close, a jet strong enough to clear a joint will also scar the paving and strip the pointing. Direct the jet along the crack at an angle and work backward. Annual and shallow-rooted weeds come out completely; deep-rooted perennials lose their top growth but often reshoot.
Pressure guide by surface:
- Poured concrete: the most forgiving surface, but still test a hidden patch first – use the widest fan tip, keep the nozzle well back, and ease right off on sealed, painted, or stamped concrete, which a hard jet strips.
- Concrete block paving: paver makers put hardscape cleaning at around 1500 PSI with the widest fan tip, the nozzle at least 24 in (60 cm) back if your washer’s pressure can’t be dialed down, and a test wash on a few blocks first.
- Clay or older/fragile brick pavers: far less – brick makers put it at 400-800 PSI with a 25-35° fan tip at 6-8 in (15-20 cm), and say not to pressure wash soft or sensitive brick at all. If in doubt, clear the joints by hand instead.
- Natural stone: soft stone like sandstone and limestone scratches and etches easily, and there’s no safe universal figure – lowest effective pressure, test an out-of-the-way spot first, keep the nozzle well back.
- Resin-bound gravel: cold water and a fan jet only, a maximum of about 2175 PSI (150 bar), with the lance no closer than 8 in (200 mm) to the surface, per resin manufacturer guidance.
There’s a catch: pressure washing also dislodges the joint sand between pavers. If you stop here, the cleaned joints are bare soil and seeds blow straight in. You’ll have the same problem back within weeks. Move straight to method 7 while the surface is clean.
7. Fill cracks with polymeric sand
This is the one that actually stops them coming back.
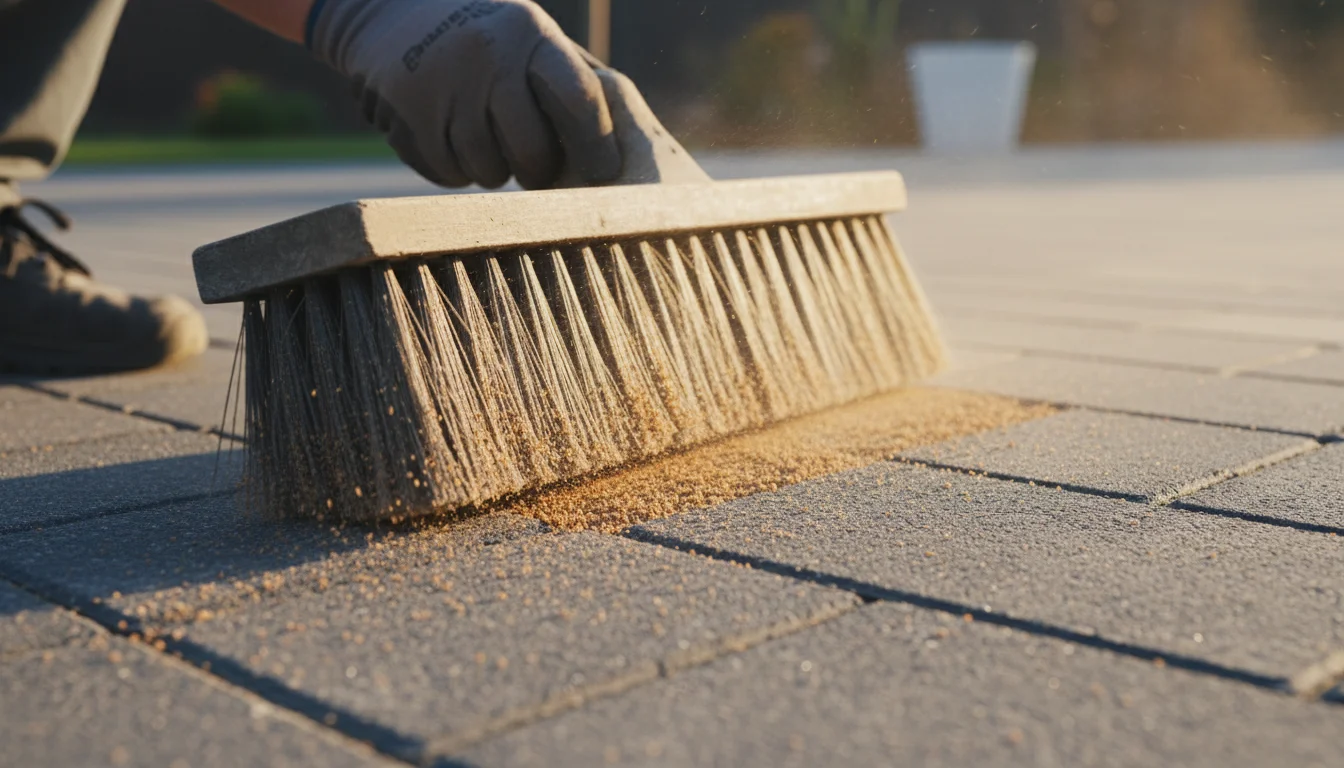
Polymeric sand contains fine aggregate bound with a polymer that hardens when wetted and dried, sealing the joint so seeds have nothing to root into. Clear all plant material and debris from the cracks first – use a stiff wire brush or weeding knife to get everything out. Any organic matter left behind will still decompose and give seeds a foothold even through a packed sand joint.
Sweep dry polymeric sand into clean joints at different angles to pack it tightly. Use a rubber mallet or plate compactor to settle the pavers and drive the sand deeper. Add more sand, sweep again. Repeat until joints are filled to within 1/8 in (3 mm) of the surface. Mist with water – don’t flood. Too much water washes out the binder before it cures. Do this on a dry day with no rain forecast for 24 hours.
Sets hard in 24 hours, lasts 5-10 years before joints need refreshing. It costs more than regular kiln-dried sand, but regular sand doesn’t prevent anything – seeds germinate in it readily and rain washes it out. The upgrade is worth it.
In cold climates, check joints each spring. Freeze-thaw cycles can crack the hardened sand and open small channels that seeds exploit. Touch up any gaps while they’re still small.
Joints wider than about 1.5 in (4 cm) may need a different approach – polymeric sand can erode out of very wide gaps. For wide cracks in concrete driveways, use a polyurethane or epoxy crack filler rated for driveways instead.
Frequently asked questions
How do you permanently get rid of weeds in a driveway?
Kill the existing weeds with any contact method (boiling water, vinegar, or salt), then fill the joints with polymeric sand. The weeds grow because there’s a soil-filled gap for seeds to germinate in. Seal the gap and there’s nothing for them to root into. That’s the permanent fix.
How do you get rid of patio weeds permanently?
Same approach: clear the surface, pressure wash if there’s a heavy infestation, then resand with polymeric sand while the surface is clean. Done properly, you won’t be doing this again for 5-10 years. The key is following pressure washing immediately with the sand – don’t let the open joints sit.
How do you get rid of weeds in your driveway?
For spot treatment: boiling water is the fastest zero-effort option for individual cracks. For larger patches: vinegar solution or salt. For the whole driveway at once: pressure washer followed by polymeric sand. Pick the approach that matches the scale of the problem.
Is it better to pull or spray weeds in paving?
For paving cracks: kill first, then pull. Spraying or pouring boiling water kills the plant, and 24 hours later the dead root comes out cleanly with a tug. Pulling live tap-rooted weeds from tight cracks is awkward work that rarely gets the full root. Kill it, wait, pull.
Kill what’s there, then seal the joints. Everything else is temporary maintenance.
Corrections
- 2026-10-11: The pressure-wash section (§6) gave fixed PSI settings by surface (block paving/brick 1200-1500 PSI, natural stone 1000-1500 PSI, concrete 2500-3000 PSI, resin-bound gravel 1200 PSI) plus a 2000-3000 PSI headline figure and a 4-6 in (10-15 cm) nozzle distance that no manufacturer source supported; the brick figure in particular was far too high for clay or older brick, and the 4-6 in distance was closer than any source advises. The settings are now sourced to paver, brick, and resin manufacturer guidance (concrete block paving around 1500 PSI with the nozzle kept well back; clay or fragile brick 400-800 PSI, or not pressure washed at all; resin-bound gravel a maximum of about 2175 PSI / 150 bar with a fan jet) or reframed to lowest-effective pressure and a test patch first where no primary figure exists (natural stone, poured concrete), with a wider fan tip and a greater standoff throughout, never a 0-degree jet. The poured-concrete line previously said the surface “takes the full force of a typical domestic washer” at a fixed 25-35° fan tip and 6-12 in standoff; no manufacturer source supported those universal figures, so it is now test-a-hidden-patch-first, widest fan tip, nozzle kept well back. The weed-burner section (§5) previously stated the tool was “safe on concrete, asphalt, and brick”; no manufacturer or authority source supported that blanket per-surface assurance, so it is removed and the section keeps only its fire-safety directions (keep the burner moving, a brief pass, and never near dry vegetation, wooden decking joints, or any combustion risk).